First steps in FHEM
| An dieser Seite wird momentan noch gearbeitet. |
Hier entsteht die englische Fassung von Erste Schritte in FHEM...
- Letzte Änderung der dt. Fassung: 05.12.2024
- Letzte Änderung der engl. Fassung: 04.08.2017
- Neuere Version ist: dt. Version
This a beginners course for those starting to work with FHEM. After you have installed FHEM on your server you may reproduce all steps without any additional smart home hardware.
This guide was primarily published by Ulrich Maass who permitted the use in FHEM wiki.
Note to editors: Everybody is called to improve orthography, grammar and style. Content changes and extentions should be discussed with the author (e. g. on associated discussion page).
First attempt
To start FHEM first time enter in your browsers address field:
http://<ip-address>:8083
e. g. http://192.168.1.1:8083.
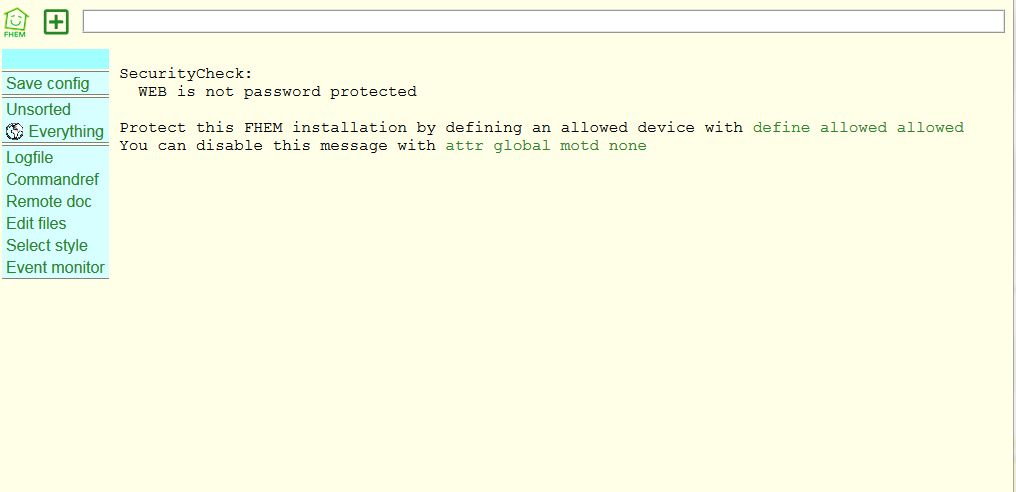
So you get FHEM homepage:
- At the head you can discover a white command line, where you may type in commands.
- As a first menu entry you can see button Save config, that is intended to store configuration changes beyond a FHEM restart.
- Beside this there are already rooms Unsorted and Everything, we will get to know later on.
- More links are collected in a lower group, we will discuss later on too.
Advice Security Check indicates that there is no FHEM password. Ho to configure a password protection you can see at FHEM command reference commandref, where you by the way may find a description of all FHEM functions and modules. To suppress this message as a start enter in command line:
attr global motd none
and confirm this change pressing Enter-button.
Creating device - define
The main component type in FHEM is called device.Typical devices are e.g. remote controlled outlets, roller shutter motors, temperature sensors, solenoid valves etc.
But there are other kinds of devices too, where at first view you wouldn't expect it: FHEM's user interface ("FHEMWEB") is a device, there are devices without a physical equipment used to store a variable's value.
Now we will create a very simple device, called dummy.
A device of type dummy is a special object, inasmuch as it nonessential needs corresponding physical equipment (physical lamp, roller shutter, solenoid valve). So we can proceed in this guide without a real hardware system, or rather we don't need to concider differences between differrent hardware. A dummy device is generally represented on FHEM's user interface like a FHEM device with a physical equivalent.
Lets begin with a switch. It is designed to simulate a light switch on the wall. Please, enter command in command field:
define mySwitch1 dummy
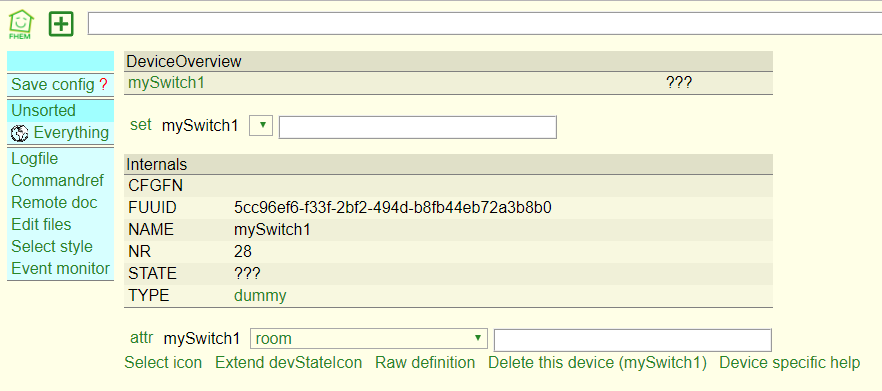
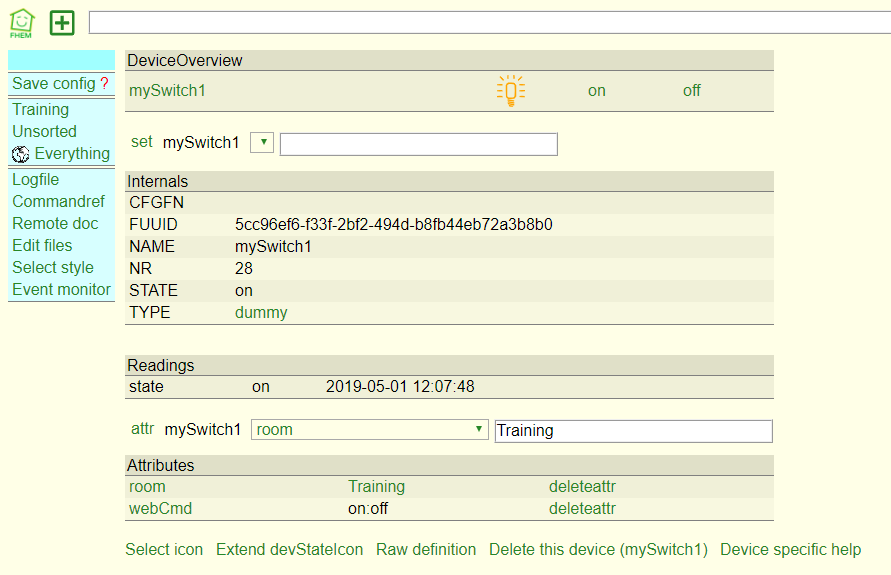
"define" is the needed FHEM command, "mySwitch1" the future name of our device, "dummy" describes its type. Words "define" and "dummy" are part of FHEM'S command syntax and are unalterable, "mySwitch1" is (more or less) arbitrary. After pressing button Enter detail view of our new FHEM device mySwitch1 appears.
Devices have a "state", changing in time and recorded by FHEM. E.g., some window is open, a shutter is closed, an outlet is under voltage. A state not necessary consists of exactly one value (window: "open" or "closed"), state can be described by a bunch of values (state of a Raspberry system - device type sysmon - contains CPU frequency, CPU temperature, load and much more).
Device status in FHEM consists of overall three blocks of values, called Internals, Attributes and Readings. It's early days yet to discuss in-depth meaning of these terms, but some remarks are important for our next steps:
- Internals store very basic informationen about a device. Only in rare cases users will edit directly internals (mostly during define step).
- Attributs control device behavior. Typically they can be changed (or even defined) by users.
- Readings have in contrast to the values of the other two blocks a timestamp. Usually they are measured values of your device.
It may be confusing for beginners that there can be Internals and Readings of equal names (e.g. STATE and state). Though Perl distinguishes lower and upper case.
- NAME: device name assigned by the user
- TYPE: device type of FHEM device, here: dummy
- STATE: device state shown in all summaries. Since there was no assignment till now it is initially ???.
Creating rooms
Let's do a step forward and arrange our devices in rooms. You may consider reasonable to put together devices physically (really) located in one room into a FHEM room. So you can find in "bedroom" appropriate devices like "shutter", "time switch" and "radio set". You may decide other assignments: put all measuring devices like thermometers, electric meters and hygrometers in one (possibly only virtually and not physically existing) room "measuring devices". Name of a room is arbitrary.
To achieve this you have to add to all devices your room should contain an "Attribute" (see above). Name of the attribute is "room" and it should get as its value the room name. Let's try it with our room dummy. Use command
attr mySwitch1 room Training
and finish input with Enter).
With this command you have added to device mySwitch1 Attribute room with value Training. Again, attr, mySwitch1 (while referencing to an existing object's name) and room are part of FHEM's command syntax and are unalterable, Training is arbitrary.
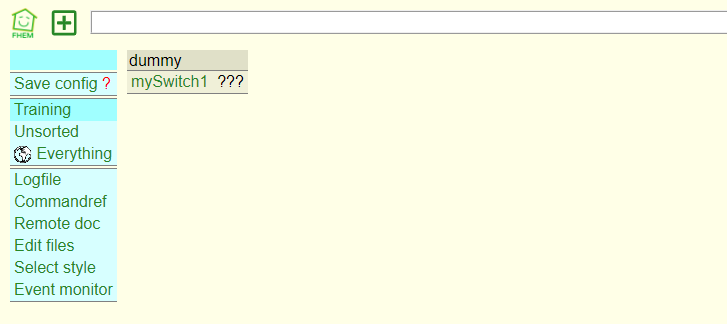
Now mySwitch1 belongs to room Training. Due to this assignment room appears in navigation bar on the left hand side in room's block. Try to click at room Training.
FHEM will show all devices belonging to this room. Until now we have only one device: mySwitch1 - our dummy.
Beside device name always device status is on display, we still get ???. Clicking at name mySwitch1 you will return to its detailed view.
Our dummy is shown in a block with (type) label dummy. You may change label as well introducing a further attribute "group" and assigning to it (arbitrary as well) name: groups order devices inside a room.
Note:
If you want to delete a room, you may do so removing all devices from this room. In our example of room Training you have to delete in all devices of room Training attribute room. Room Training will dispear by itself.
Creating switching commands
Now we want to add on/off-buttons to "mySwitch1":
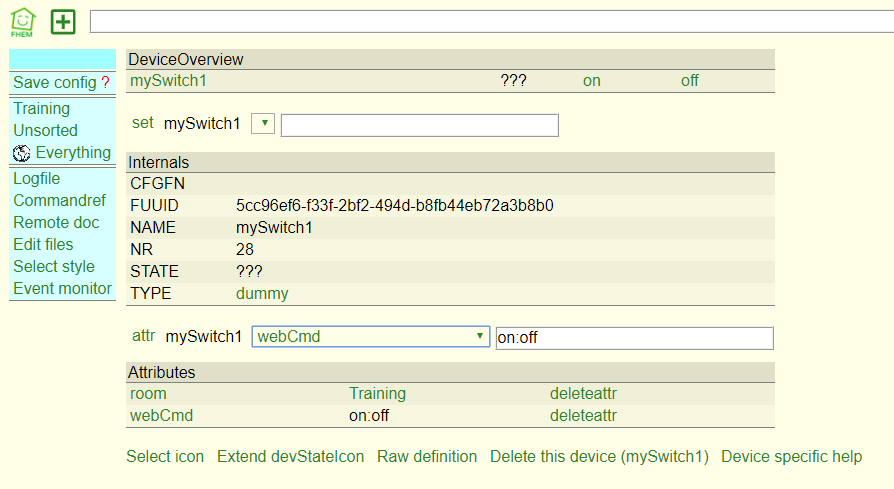
attr mySwitch1 webCmd on:off
Again we use an attribute named webCmd with values on:off, we want to add to device "mySwitch1". Instead of entering mentioned above command into command line field you may choose desired attribute (in this case: webCmd) in lower part of detail view and enter needed values into text field right next, in this case on:off. Complete your input with a click on button attr.
Now let's click again on room Training.
You may see, that due to atribute added in last step in room view switch buttons for on and off have appeared.
Click experimentally on on and off: instead of ??? you got so far you may find a bulb symbol showing current state.
Clicking on device name mySwitch1 you change back to detail view and may see in block Internals current state STATE - being shown in room view as an icon (bulb).
In detail view you can see a new block Readings as well.
Please switch off mySwitch1 once again. Pay attention to readings: next to internal STATE you may find a reading of same name (see above: Perl distinguishes lower and upper case), but equipped with a timestamp. Check reading state for updating at value and timestamp.
Event monitor
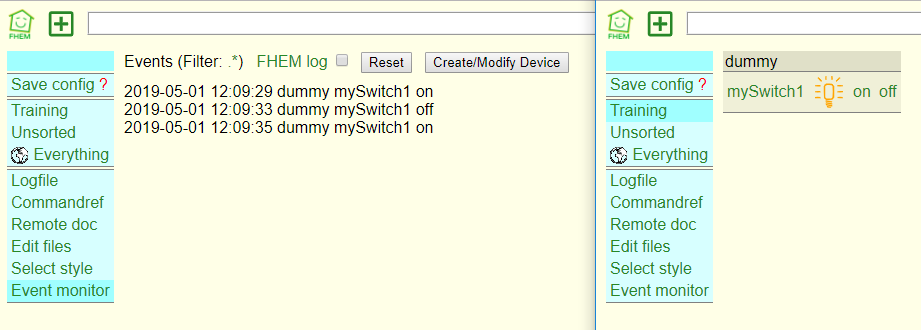
Please, open in your browser another window with FHEM and in FHEM its Event Monitor. The shortest way is to right-click on Event Monitor and to select from the local menu "Open in new window". Place Windows in such a way, that you can follow event monitor and operate your "mySwitch1" at once. Using Windows 7 or newer simply activate one window and press Windows+Pfeil rechts, followed by activating second window and pressing Windows+Pfeil links.
Devices communicate via events. One device sends an event to FHEM and FHEM distributes this event to all devices. Devices decide whether to react or not and if yes - how. Let's have a closer look at this.
Switching mySwitch1 FHEM generates an event. With every actuation of the switch yet another event appears in Event Monitor. Please look what happens when you consecutively click twice on on.
Events always consist of a timestamp followed by the type of the triggering device (in this case: dummy), name of the triggering device (in this case: mySwitch1) as well as triggered command (in this case: on or off).
FHEM devices like remotes or remote-controlled wall switches, which trigger physical events, generate events in FHEM with every keypress in device itself or click on associated FHEM device.
Understanding events, their structure and operation is crucial - we will frequently need them below.
Operating devices - set
So you have learned to switch mySwitch1 clicking at on or off. Alternatively you can use command line entering instructions there.
So please, enter in command line field set mySwitch1 on or set mySwitch1 off and confirm this with button Enter. Switching status will change accordingly as well and an Event will be triggered. By the way, we will frequently use command set in future.
Preparing further tests we now create a new device myLamp1 that we later on want to control with mySwitch1.
define myLamp1 dummy
Since myLamp1 is a lamp - an actor - it won't get buttons for on or off.
Lamp should be located in room Training. You might set this assignment via command line, like shown above. But this time we will use computer mouse...
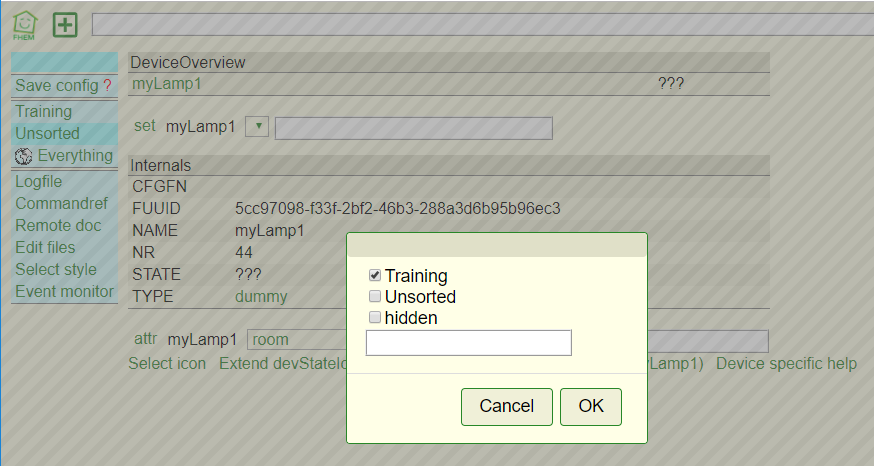
Until now myLamp1 has no room assignment, so it appears in room Unsorted. Change over in this room and click at name myLamp1 getting so detail view.
In the lower part we can set attribute assignments.
Attribute room is already selected (as default). When you click at text field next to room, a dialog box opens that contains all rooms FHEM knows so far. You may select one ore more checkboxes and assign this or these rooms to device. Now select only room Training and confirm selection with button OK. Selected room will be transferred into text field and it remains only to click at button attr to activate assingment.
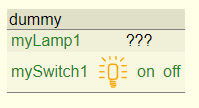
Now change back to room Training and you will see both devices:

